Free Shipping
On orders $99+
On orders $99+
Installing an Outdoor Wall Sconce on your own, if you haven't had before, can be intimidating and can feel like it's going to be a chore. Well, I am here to convince you that it can be quite simple or, simple enough at least, for even the uninitiated.
First thing you need to instill in yourself as creed regarding light installation or any electrical installation for that matter is that don't forget to turn off the breakers or make sure the breakers are already off whenever you are going to do any form of wire work.
If you have an already installed wall sconce, removing it would be the first course of action. Most wall sconces are held by bolts screwed through the backplate to the crossbar or to the mounting hardware that it came with. To remove a fixture, the first steps are to unscrew these bolts, enabling you to pull it out enough to a point where you can untether the wires of the fixture without taking the fixture all the way out. Lighting fixture wires are usually conjoined with electrical supply wires by wire nuts. Remove the wire nuts by twisting it counterclockwise until it no longer holds both wires. Once the wires are no longer connected, you can safely remove the fixture from the wall.
If you have an already installed fixture, you would no longer need to drill a new hole for the wires unless you plan on installing in a different area entirely. This guide serves to specifically inform you how to replace wall sconces As we have mentioned above, most brand new lighting fixtures come with their own mounting brackets and even if they are not brand-new, it will more than likely still be included.
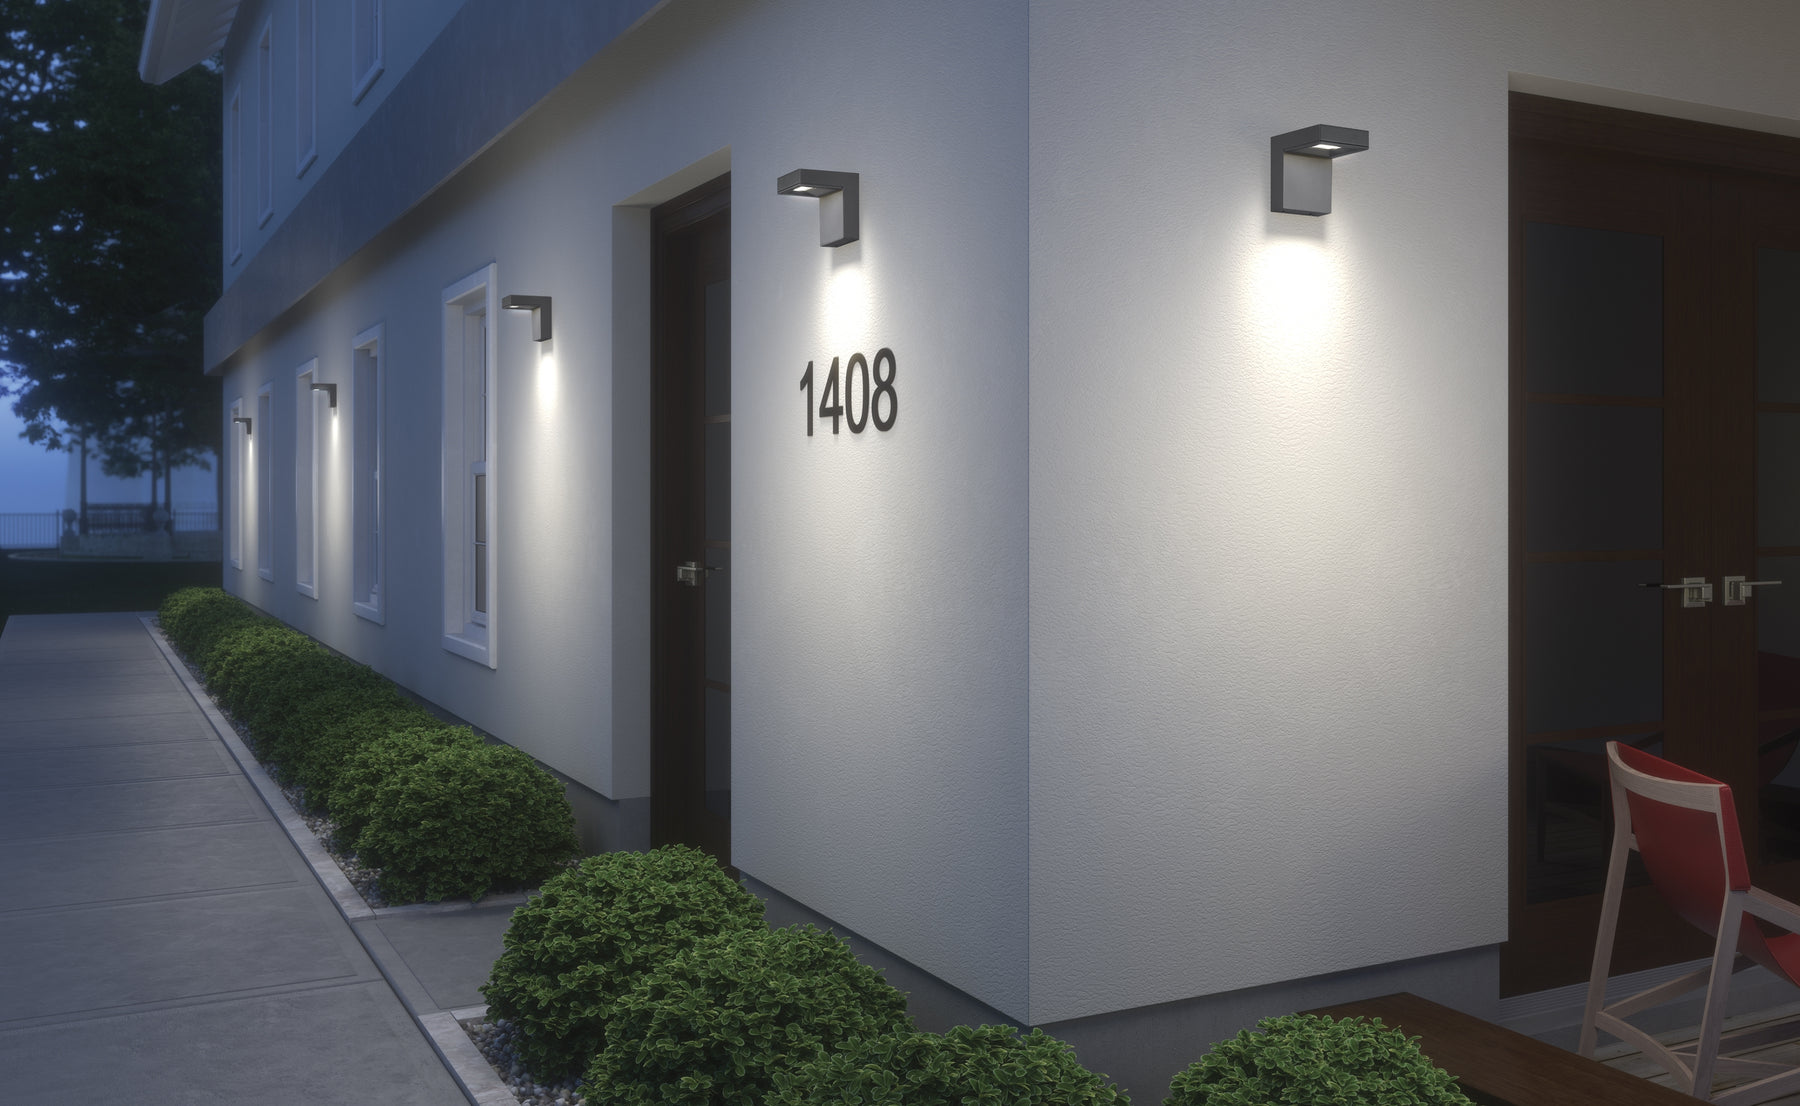
For optimal placement of wall sconces, it is a standard or highly recommended that they are installed six feet apart. If near other objects, such as frames or décor, most would advise installing at least six inches from the object to the canopy's edges. For the front porch, 60-72 inches from the floor is recommended and make sure that it is installed at least 6" away from the door frame. If you have a gate, the fixture can be a little higher than you shoulder level.
Make sure to connect the proper wires. Wires are color-coded to serve as guide of where they should get connected to. Black is hot/live wire; white is neutral and bare copper/green is ground wire. In the instance that the fixture's wires are not identifiable by color, there is a great chance that it is stated in their assembly instructions sheet. Should there be a chance that you are still unsure how to properly wire the light, it would be advisable to consult an electrician.
To connect the wires of the fixture to the electrical supply wire, identify each wire and connect the live/hot wire of the fixture to the black wire from the supply by twisting the two wires together and capping it off with a wire nut. Repeat the same method to the other two wires by identifying the neutral wire of the fixture to the white wire of the supply. Lastly, connect the copper wire to the ground/green wire of the supply. For the beginner's explanation of how wires function, please see below:
Live Wire
Live wires are insulated with black plastic covers. The live wire carries the current from the transformer/breaker to the fixture.
Neutral Wire
Neutral wires are insulated in white plastic covers. As electricity needs to circulate, the neutral wire carries the current from the fixture back to the transformer/breaker.
Ground Wire
Ground wires are usually not covered and bare copper but can occasionally be insulated in green plastic cover. Think of ground wires as a safety mechanic should there be any electrical shorts.
Once the wiring has been reattached correctly, you can now install the new fixture. Place the crossbar the fixture came with then screw in the mounting bracket. Carefully set in the fixture afterwards and make sure the screw holes are coordinated to the mounting bracket correctly to enable you can to affix it to the wall. If there are any gaps from the wall to the fixture, however, use caulking to seal it to prevent water from leaking into the fixture. There is an alternative way to address this, which is to cut out a mounting block that will match the shape of the fixture's back plate.
Leave a comment