Free Shipping
On orders $99+
On orders $99+

Ceiling fans are excellent additions to any room. With a ceiling fan, you can give your room superior climate control and stylistic flair. Once you have found the right fan for your room, we recommend you use a licensed professional for your fan installation. However, if you choose to install the fan yourself, you can use the steps below along with other resources as your guide:
1. Turn off electricity. This is the first step for any project related to electricity. Do not merely turn off the light switch. Go all the way to the breaker to shut off the current entirely for safety reasons.
2. Prepare the site. You may be replacing an existing ceiling fan, but you can also replace a light with a fan. In either case, remove the existing fixture carefully. Unscrew with care, and be sure to support the fixture so it does not fall while you remove it. If you are installing a replacement fan that has separate wires for the light and the fan, make sure you note which wire does what before discarding the old fixture.
3. Install support. Ceiling fans are usually heavy enough to warrant a brace in the ceiling. Some models come with this support, and it should be installed according to the directions. You can make your own with a simple block of wood. Nail the support brace into the closest ceiling joists.
4. Place the mounting bracket. Most ceiling fans will have a mounting bracket, which makes the fan easier to attach. It should be installed before the fan in order to streamline the process. If you are going to use an extension to lower your fan, you should place it at this time.
5. Watch your wires. You will need to take the wires from the ceiling and thread them through the correct parts of your mounting gear. Then, the wires need to be attached in the right places to make the motor work. The locations should be labeled on the fan. You simply need to match up the right wires.
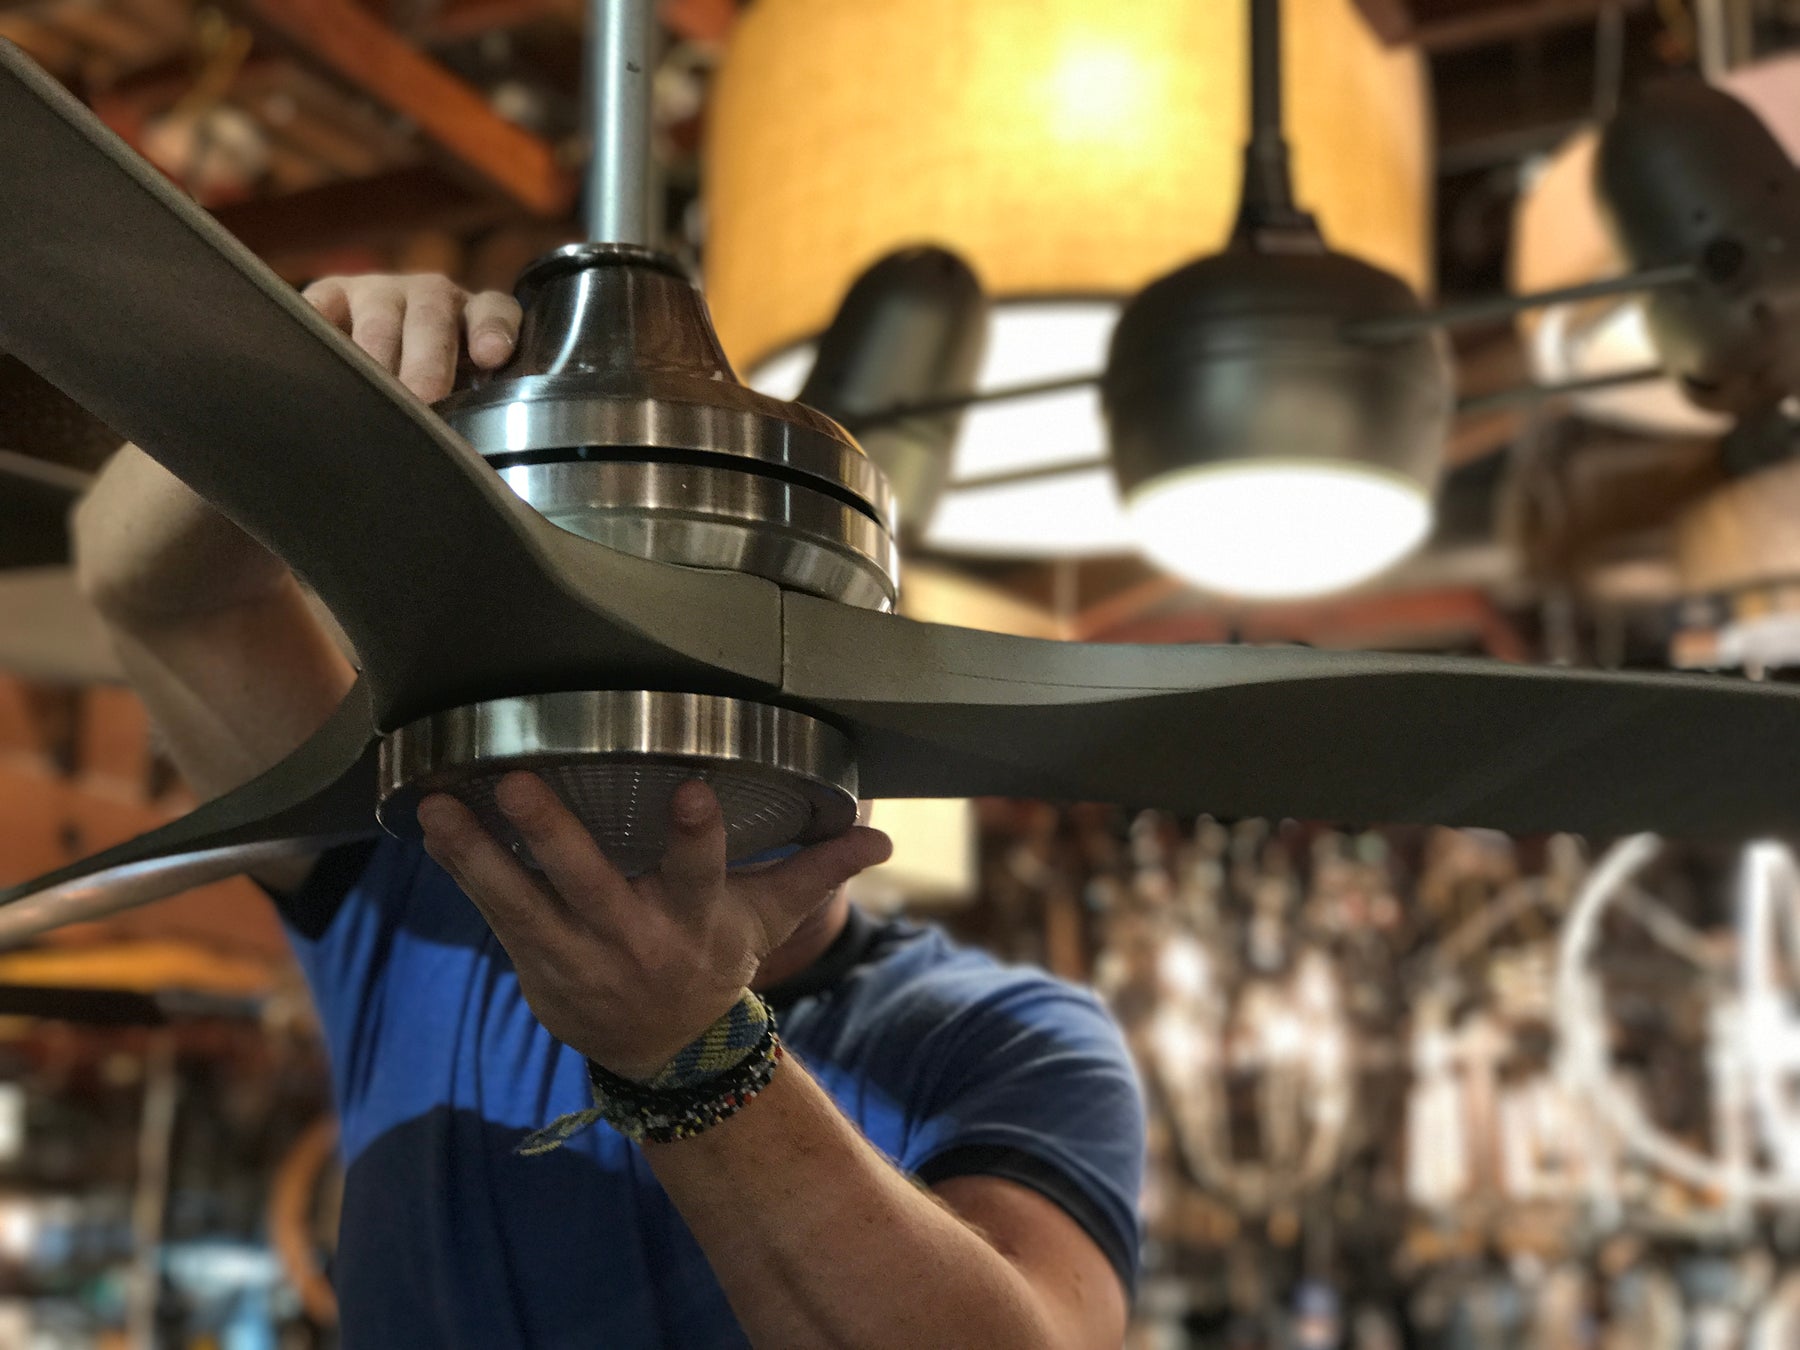
6. Attach the fan. With the mounting bracket in place, the body of the fan should be easy to install. Look at the manufacturer's directions carefully to make sure you line up all the parts correctly. You will probably have to screw in several pieces to make sure everything is secure.
7. Add blades and light. The fan will not come assembled in most cases. Therefore, once the body of the fan is placed, you will need to install the other pieces. Start with the blades. The blades should have their own mounting brackets, which can be attached to the body of the fan. If your fan has a light, you will also install it at this time. Remember to buy the necessary bulbs in advance. Many fans do not come equipped with bulbs.
8. Check the switch. Turn the electricity back on, and check the fan by turning on the light switch again. If separate switches control the blades and the light, be sure to check them both in turn.
Finally, sit back and enjoy your new fan!
Leave a comment